Getting Started with XlsxWriter#
Here are some easy instructions to get you up and running with the XlsxWriter module.
Installing XlsxWriter#
The first step is to install the XlsxWriter module. There are several ways to do this.
Using PIP#
The pip installer is the preferred method for installing Python modules from PyPI, the Python Package Index:
$ pip install XlsxWriter

# Or to a non system dir:
$ pip install --user XlsxWriter
Installing from a tarball#
If you download a tarball of the latest version of XlsxWriter you can install it as follows (change the version number to suit):
$ tar -zxvf XlsxWriter-1.2.3.tar.gz

$ cd XlsxWriter-1.2.3
$ python setup.py install
A tarball of the latest code can be downloaded from GitHub as follows:
$ curl -O -L http://github.com/jmcnamara/XlsxWriter/archive/main.tar.gz

$ tar zxvf main.tar.gz
$ cd XlsxWriter-main/
$ python setup.py install
Cloning from GitHub#
The XlsxWriter source code and bug tracker is in the XlsxWriter repository on GitHub. You can clone the repository and install from it as follows:
$ git clone https://github.com/jmcnamara/XlsxWriter.git

$ cd XlsxWriter
$ python setup.py install
Running a sample program#
If the installation went correctly you can create a small sample program like the following to verify that the module works correctly:
import xlsxwriter

workbook = xlsxwriter.Workbook('hello.xlsx')
worksheet = workbook.add_worksheet()

worksheet.write('A1', 'Hello world')

workbook.close()
Save this to a file called hello.py and run it as follows:
$ python hello.py
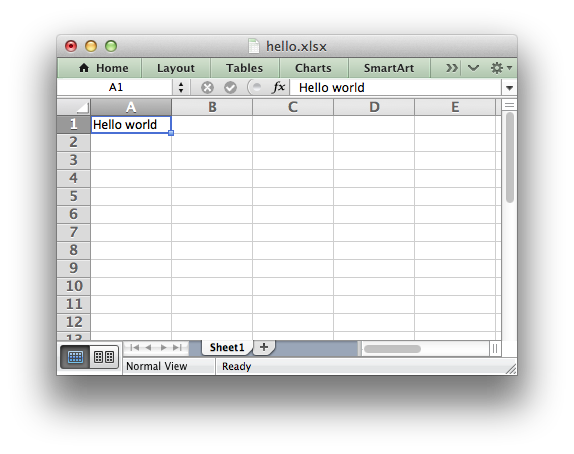
This will output a file called hello.xlsx which should look something like
the following:
If you downloaded a tarball or cloned the repo, as shown above, you should also have a directory called examples with some sample applications that demonstrate different features of XlsxWriter.
Next steps#
Once you are happy that the module is installed and operational you can have a look at the rest of the XlsxWriter documentation. Tutorial 1: Create a simple XLSX file is a good place to start.